
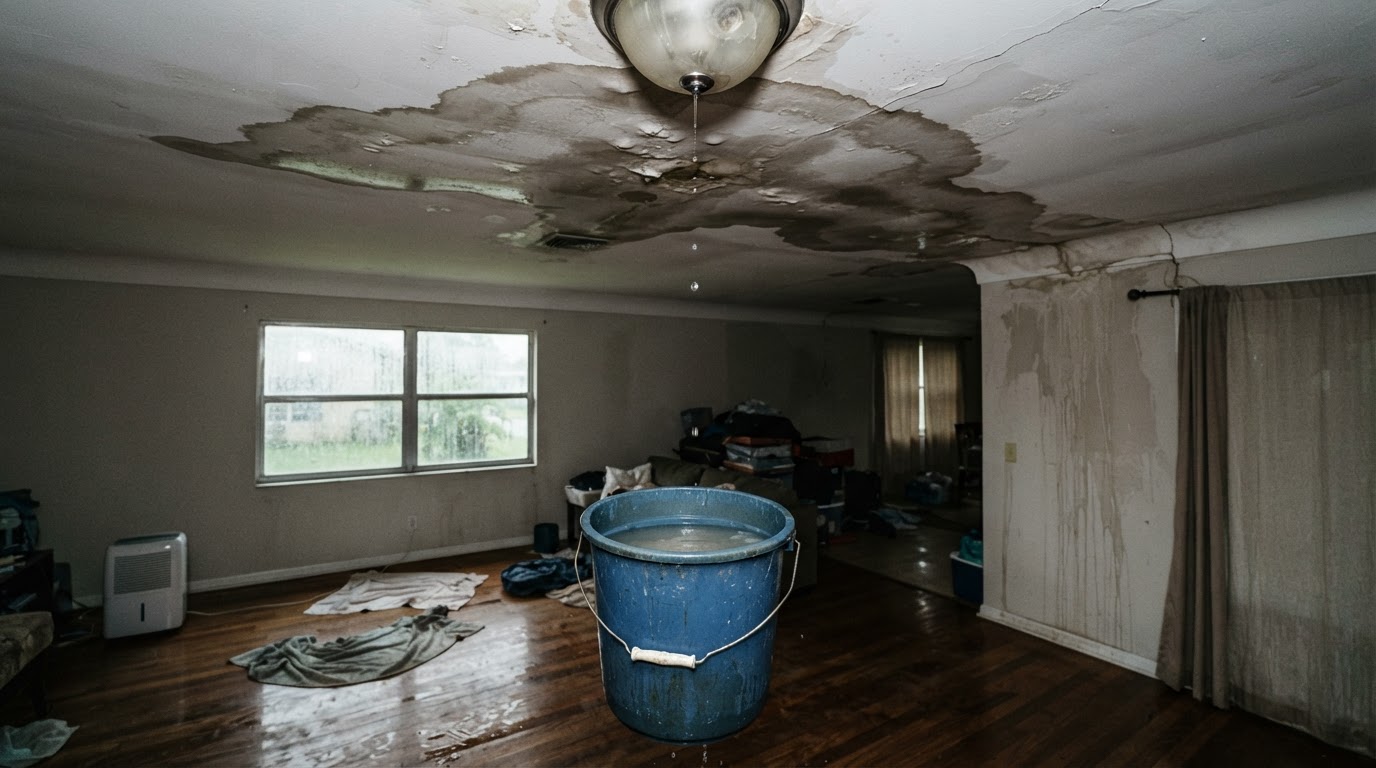
Roof Leak After a Hurricane: First 48 Hours Pensacola
If water is entering the home after a hurricane, prioritize personal safety first. Stay away from downed electrical lines, unstable ceilings, standing water near electrical systems, and visibly compromised structural areas—and do not climb onto a wet or storm-damaged roof. The first 48 hours are about safety, limiting additional interior damage, and arranging temporary protection and an inspection. We help Pensacola, Escambia County, and western Florida Panhandle homeowners take the right first steps after a post-hurricane roof leak.
In the first hours after a post-hurricane roof leak, the priorities are personal safety, protecting people from electrical and structural hazards, moving belongings away from active leaks, containing water where it is safe to do so, documenting visible damage, and arranging temporary roof protection and a professional inspection. Do not climb onto a wet or storm-damaged roof. A tarp is temporary protection, not a permanent repair. Visible interior water may originate far from the actual roof entry point, so the leak source should be traced by a professional. Within 24–48 hours, arrange a full inspection and a repair or replacement plan.
First Actions When a Roof Leaks After a Hurricane
The minutes after discovering a post-hurricane roof leak are not the time to climb up and investigate. They are the time to protect people first, then limit interior damage, then get professional help. The sequence below is the order that matters.
- 1Protect people first—stay away from downed lines, standing water near electrical systems, and unstable ceilings
- 2Avoid electrical and structural hazards—do not touch wet fixtures, wiring, or sagging ceilings
- 3Move belongings away from active leaks—furniture, electronics, and valuables out of the water path
- 4Contain water where safely possible—buckets, towels, or containers under drips
- 5Document visible damage—photograph stains, water, and any roof damage from safe vantage points
- 6Request temporary roof protection and a professional inspection
If there are downed power lines, a gas smell, structural collapse, fire, or standing water near electrical systems, stay clear and contact the appropriate emergency utility or public-safety service immediately. Do not approach the building until the immediate hazard has been handled. Personal safety comes before any roof leak.
Limit Additional Interior Damage
In the first few hours, the goal is to keep the leak from causing more interior damage than it already has. These are safe, ground-level actions—none of them require climbing onto the roof.
- Move furniture, electronics, and valuables away from active leaks
- Use containers, buckets, or towels to catch and redirect drips
- Protect flooring—move rugs or cover surfaces where water is running
- Photograph interior damage while it is fresh
- Watch sagging ceiling areas from a safe distance—do not stand under them
- Do not puncture or enter unstable ceilings to release water
- Avoid wet electrical fixtures, outlets, or wiring
- Contact emergency services or utilities for serious hazards
A sagging ceiling may indicate trapped water above it. Do not stand under it, and do not puncture it to release the water without professional guidance—the structural condition may be compromised. If a ceiling is visibly sagging, move out from under it and arrange professional assessment.
Temporary Roof Protection
Once the interior is as protected as safely possible, the next priority is keeping more water from getting in. Temporary protection—emergency tarping—covers the exposed or damaged roof area and sheds water away from it until a permanent repair can be scheduled. It is protection, not a repair.
- Emergency tarping over exposed or actively leaking roof areas
- Temporary weather protection for damaged panels or missing shingles
- Coverage where the roof deck or underlayment is exposed
- Protection where a tree or debris has impacted the roof
- Secured protection that will hold until the permanent repair is scheduled
A tarp is temporary, not a permanent roofing repair. It is a bridge between the storm and the fix—it reduces additional water intrusion while the real repair is inspected, scoped, and scheduled. The permanent repair still has to happen; a tarp left indefinitely does not fix the underlying damage.
Arrange temporary protection
Finding the Actual Leak Source
Visible interior water does not always appear directly below the roof entry point. Water can travel along roof components, run down a rafter, or surface far from where it entered. That is why tracing the source matters—patching the visible stain without finding the entry point does not stop the leak.
- Missing or lifted shingles
- Metal panel damage or moved seams
- Valleys where roof planes meet
- Flashing at penetrations, walls, and transitions
- Pipe boots and roof vents
- Skylight flashing
- Ridge and ridge-vent details
- Roof-to-wall intersections
A professional inspection checks these points and traces the water path back to the entry, rather than treating the interior stain as the problem. The stain is the symptom; the roof defect is the cause.
Related leak-source resources
Next 24–48 Hours: Inspection, Documentation & Repair Plan
Within the first day or two, the focus shifts from containment to a repair plan. The sequence below turns the first 48 hours into an organized path from emergency protection to a documented scope and a repair-versus-replacement decision.
- 1Arrange a full roof inspection—trace the leak source and scope the storm damage
- 2Document visible storm damage—photograph from safe vantage points and note the date
- 3Identify what is temporary (tarping) versus what is the permanent repair
- 4Check for deck or moisture damage—water may have reached the substrate
- 5Obtain a roofing scope or estimate—a written scope of the actual work
- 6Keep photographs and receipts organized—for decisions and any insurance process
- 7Determine the repair vs replacement path based on the inspection, not an assumption
An insurer must approve any recommended work for it to be covered—and a roofing estimate is not a coverage determination. The inspection and estimate scope the needed roofing work; the insurer handles coverage. Keep the two roles separate and do not assume a recommended repair is automatically paid for.
Move from protection to a repair plan
Frequently Asked Questions
Roof Leaking After a Hurricane? Let's Help in Pensacola.
Contact Pensacola Metal & Shingle Roofing Contractors for a detailed written estimate across Pensacola, Escambia County, and Santa Rosa County.
Request Your Roofing Estimate
Direct consultation for Pensacola & Escambia County residential and coastal properties.